4 June, 2026
[huge_it_share]
7 Proofing Tips for Softer, Airier Bread
Struggling with dense loaves? Learn 7 practical proofing tips that help bread rise evenly, stay soft, and bake with a lighter, fluffier texture every time.
Nothing’s more frustrating than pulling a loaf from the oven that looked promising, only to find it dense or a bit dry inside. The good news is that with a few small adjustments, getting softer, airier bread is very doable. For most all-purpose yeast doughs, it really comes down to timing, temperature, and how you handle the dough along the way.
Confirm Your Yeast Is Active
If your yeast isn’t doing its job, nothing else will make up for it. Before you start, mix it with warm water and a pinch of sugar. Within a few minutes, it should look foamy and alive. If not, it’s better to replace it early than waste the rest of your ingredients.
Use Warm (Not Hot) Liquid
Temperature matters more than most people think. Warm liquid helps yeast get going, but if it’s too hot, it can slow things down or stop fermentation altogether. Aim for water that feels comfortably warm to the touch, not hot.
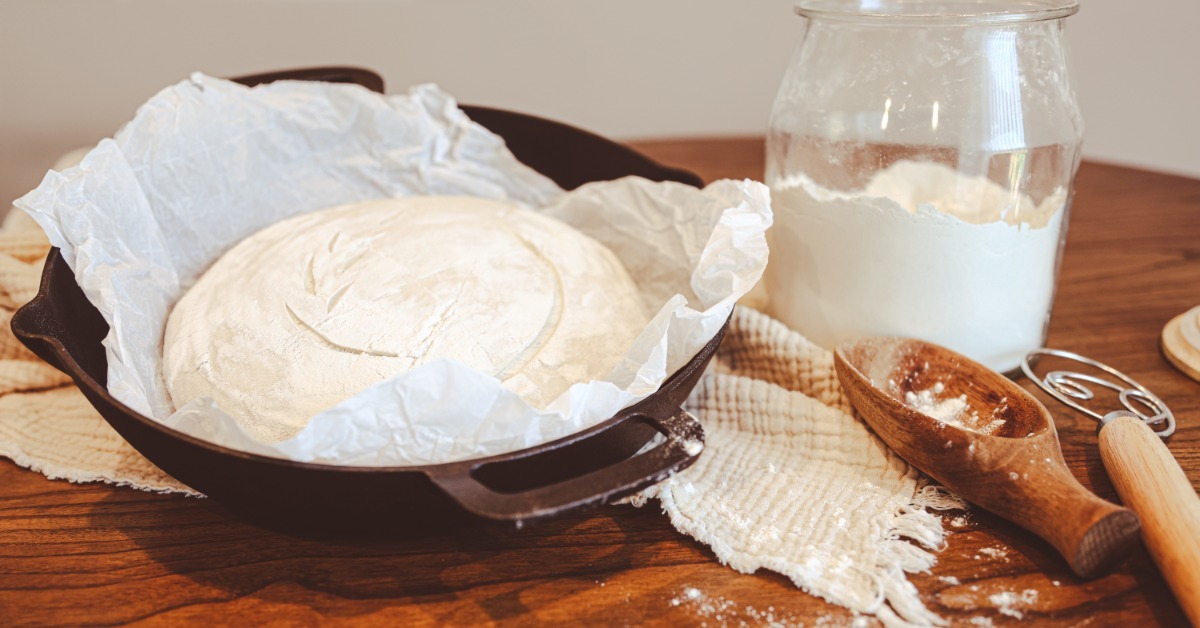
Give the Dough Time To Rise Properly
It’s tempting to follow the clock, but dough doesn’t always stick to a schedule. Instead, pay attention to how it looks and feels. Has it nearly doubled in size? Does it seem lighter and a little puffy? Letting it rise fully at this stage helps create a softer texture later.
Go Easy on Extra Flour
A slightly sticky dough is normal, especially in the beginning. Adding too much flour too quickly can make the dough stiff, which often leads to heavier bread. If the dough feels difficult to handle, let it rest for a few minutes and come back to it. Very often, that short pause makes it easier to work with.
When dough turns sticky, tough, or refuses to rise, knowing how to troubleshoot common dough problems can save the batch before you start over.
Check Proofing With a Simple Touch Test
A quick press with your fingertip can tell you a lot. If the dough springs back right away, it needs more time. If it slowly comes back and leaves a slight indentation, it’s ready. If it doesn’t bounce back much at all, it may be slightly over-proofed, so it’s best to bake it right away.
Shape Gently To Keep the Air Inside
When shaping, try not to press out all the air you’ve worked to build. The goal is to create a smooth surface with just enough tension to hold its shape. Being too rough here can flatten the dough and undo some of that careful proofing.
Create a Comfortable Proofing Environment
Dough rises best in a spot that’s warm, draft-free, and lightly covered so it doesn’t dry out. Even small changes, like covering the bowl or moving it away from a cold window, can make a noticeable difference. If you want soft and airy bread, a steady proofing environment is one of the simplest ways to get there.
(20)