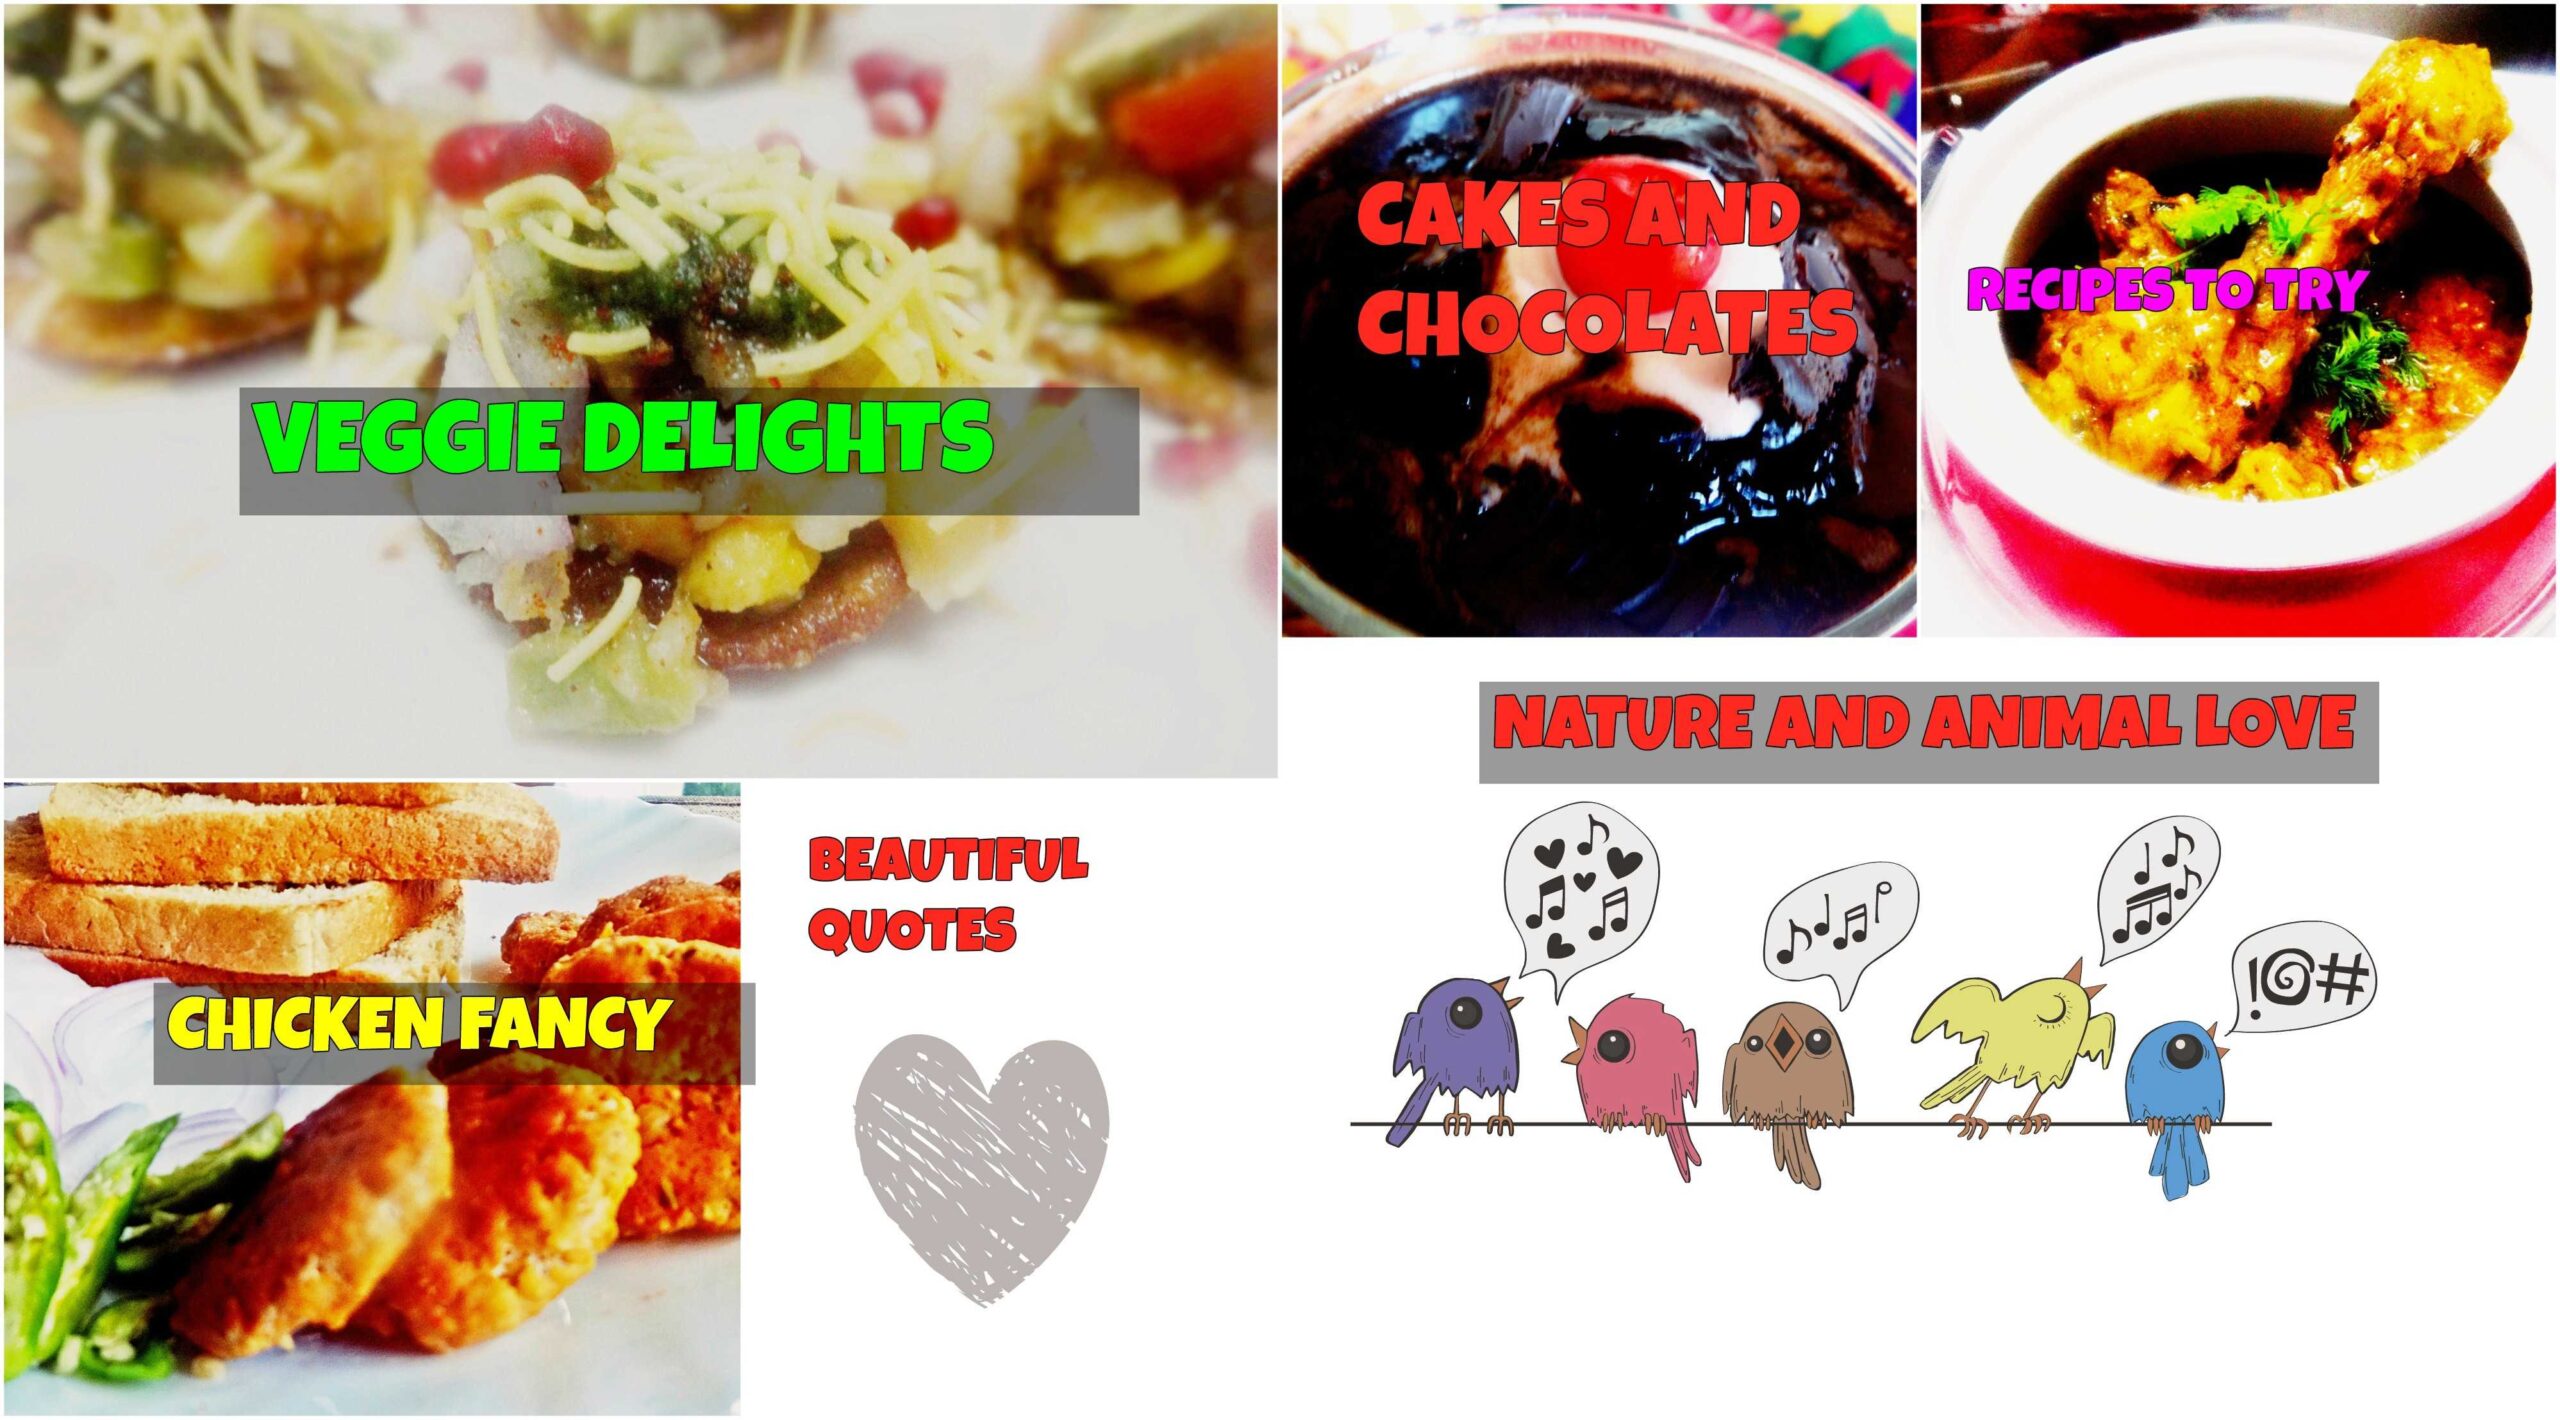
25 June, 2016
[huge_it_share]
The power of image maps

CLICK ON THE ABOVE IMAGE TO OPEN MY CORRESPONDING GOOGLE+ COLLECTION
Try this free collage maker
Image map is a technique of partitioning images into multiple segments and then linking each segment to different files.With the help of this technique it is easy for the bloggers to share a collage of image in their blogs or website in which multiple links are embedded inside.Though there are several websites which can make image maps for you,nothing like making them from scratch so that you can have entire control on your image.
We are going to learn client side image mapping through HTML code.The client side image mapping enables the image from the Website displayed in the client’s browser to embed multiple hyperlinks.There is a provision in all common web frameworks like WordPress or blogger to type your own HTML code .In the post editor there are two options “Visual ” and “Text”.One should click on the “Text” option.
To create an Imagemap follow the steps below:-
-
Upload the collage
-
publish the post and View the post in the browser.
-
Save the file by ( ctrl+S) or File save as i your browser and save as a web page complete file.

-
You will find a folder of the file getting created.

-
Search the image file there.

-
Open the file in the paintbrush by right click and open using MS paint.

-
Point the mouse pointers to the corners of the individual rectangles and record the coordinates from the status bar.

-
Then type the code in the text section of your Website.
<map name=”m1″> <area coords=”0,1,300,184″ shape=”rect” href=”https://plus.google.com/u/0/collection/YrPFTB” target=”_blank” />
<area coords=”400,1,451,146″ shape=”rect” href=”https://plus.google.com/u/0/collection/gbJtb” target=”_blank” />
<area coords=”500,2,750,147″ shape=”rect” href=”https://plus.google.com/u/0/collection/IJqc2″ target=”_blank” />
<area coords=”1,250,173,350″ shape=”rect” href=”https://plus.google.com/u/0/collection/8WbbaB” target=”_blank” />
<area coords=”200,150,300,333″ shape=”rect” href=”https://plus.google.com/u/0/collection/QDYqNB” target=”_blank” />
<area coords=”350,200,599,332″ shape=”rect” href=”https://plus.google.com/u/0/collection/0dfqNB” target=”_blank” />
</map>
<h4><a href=”https://www.indrani-will-teach.com/wp-content/uploads/2016/06/COLLECTION3.jpg”><img class=”alignnone size-large wp-image-2249″ src=”https://www.indrani-will-teach.com/wp-content/uploads/2016/06/COLLECTION3-1024×568.jpg” alt=”COLLECTION” usemap=”#m1″ width=”1024″ height=”568″ /></a>
</h4>
The HTML is a language which consists of multiple pair of tags enclosed within angular brackets.
For image maps we consider the the tag <map> </map>
The <map> tag enables us to create our own imagemap.
The <map> tag contains sub tag called <area> which are used to create segments in the image.
The <area> element contains “shape” and “coords” attribute to define the boundaries of the segments inside the images.
href :Stands for hyper reference .It also has href attribute which pertains to the hyperlink and points to a valid URL of the corresponding post.
target: Specifies the where the link should be opened .The two most common options are “_self”(opening the link in the same window) and “_blank”(opening the link in a new window)
There are three different shapes:-
-
RECT: This defines a rectangular region for the hyperlink.The region is defined by two pairs of coordinates of any two opposite corners of the rectangle.
<area coords=”0,88,94,161″ shape=”rect” href=”a.html” >
-
CIRCLE:This shape needs three coordinates .The (x and y) coordinates of the center and the radius of the circle.
<area coords=”0,88,4″ shape=”circle” href=”a.html”>
-
POLY: The region which does not have a specific or irregular shape is depicted by “Poly” where each corner is represented by a pair of coordinates.For example the following shape represents a triangle.
<area coords=”0,88,94,161,100,10″ shape=”poly” href=”a.html”>
(118)


